ECAD and Architecture Practical Classes
Laboratory setup
We are aiming to support both in-person and remote learning, with demonstrator support being provided both in person during scheduled lab times (Fridays and Tuesdays 2-5pm) and via online collaboration tools. Due to challenges in terms of supporting students on numerous platforms, we are not mandating use of FPGAs this year. In particular, the Altera Quartus tools are only available for Windows and Linux on x86 processors, and not for Mac and/or ARM machines.
For those interested in prototyping on FPGA, please look at last year's ECAD+Arch labs that include various tool installation approaches. This is entirely optional and not something we can spend much time supporting. In the future we hope to bring FPGA-based laboratory exercises back depending availability of funding for new equipment, availability of tools, etc.
Ticking and debug on Moodle
This year is the first time that ticks are assessed using Moodle. It is possible to enter your code and debug it entirely on Moodle, but you may well find it helpful to install the tools on your own machine.
Code templates for your answers
The ecad-distribution2025 GitHub repository has been setup with templates for the ticks including the Clarvi RISC-V processor used in the last tick, etc.
Clone the repository on your own computer or the ECAD+Arch server (info. below) using:
git clone https://github.com/ucam-comparch/ecad-distribution2025.git
Alternatively you might wish to fork the repository and then put your answers into the fork you have created. This is a good way to backup your answers.
Debug on the ECAD+Arch server
We have provided the virtual server cl-teaching-ecad.cl.cam.ac.uk that
you can ssh into to gain access. You will need a local X11 server if
you want a GUI. Example of access from the command-line on your
laptop (replace <crsid> with your University CRSID):
ssh -X -C <crsid>@cl-teaching-ecad.cl.cam.ac.uk
For this command to succeed you need to have already set up a private-public ssh key pair. You may have already set this up to access other teaching systems you can ssh into. If you have not, you can create a private-public ssh key pair with:
ssh-keygen -t rsa -b 4096
You will need to upload the public key (id_rsa.pub, if you
have not named it differently) to this website:
https://sshkeys.cl.cam.ac.uk/. Please
don’t share your private ssh key!
Once you have logged in, additional paths need to be setup to access some of the tools, e.g. the Spike RISC-V instruction-set simulator. A script has been provided to setup these paths, so you just need to execute the following every time you login:
source /local/ecad/setup.bash
Your files left on this server are not backed up. Since you are a computer scientist we expect you to be able to backup your work. For example, use a code repository.
Debug on your own machine
Most of the exercises just require the verilator SystemVerilog
simulator that is available on most distributions including Ubuntu
(sudo apt update; sudo apt install verilator) and
Homebrew for MacOS (brew update; brew install verilator).
Ensure that you have Verilator version 5 or higher. Check by running: verilator --version
You can use gtkwave to view waveforms produced by verilator.
This is also available as a package on Ubuntu (sudo apt
update; sudo apt install gtkwave).
The Homebrew installation for gtkwave is currently deprecated. We
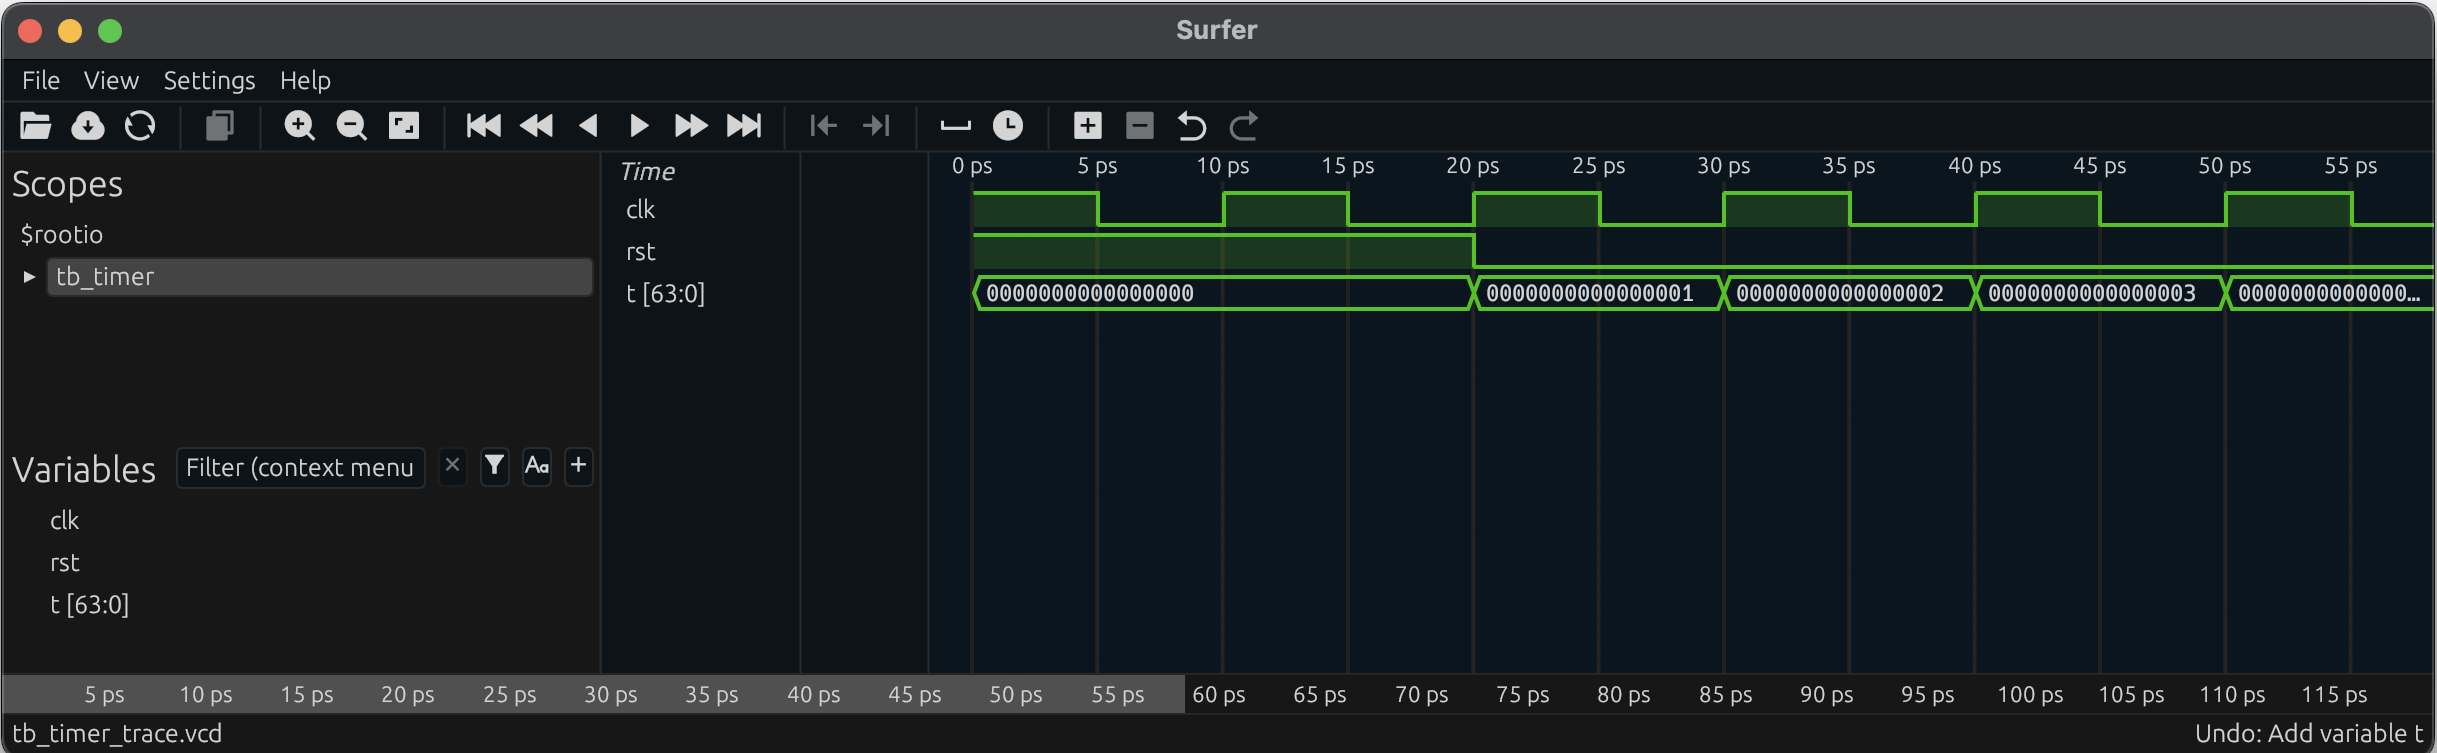
suggest using an alternative waveform viewer called surfer
that can be installed using:
brew install surfer
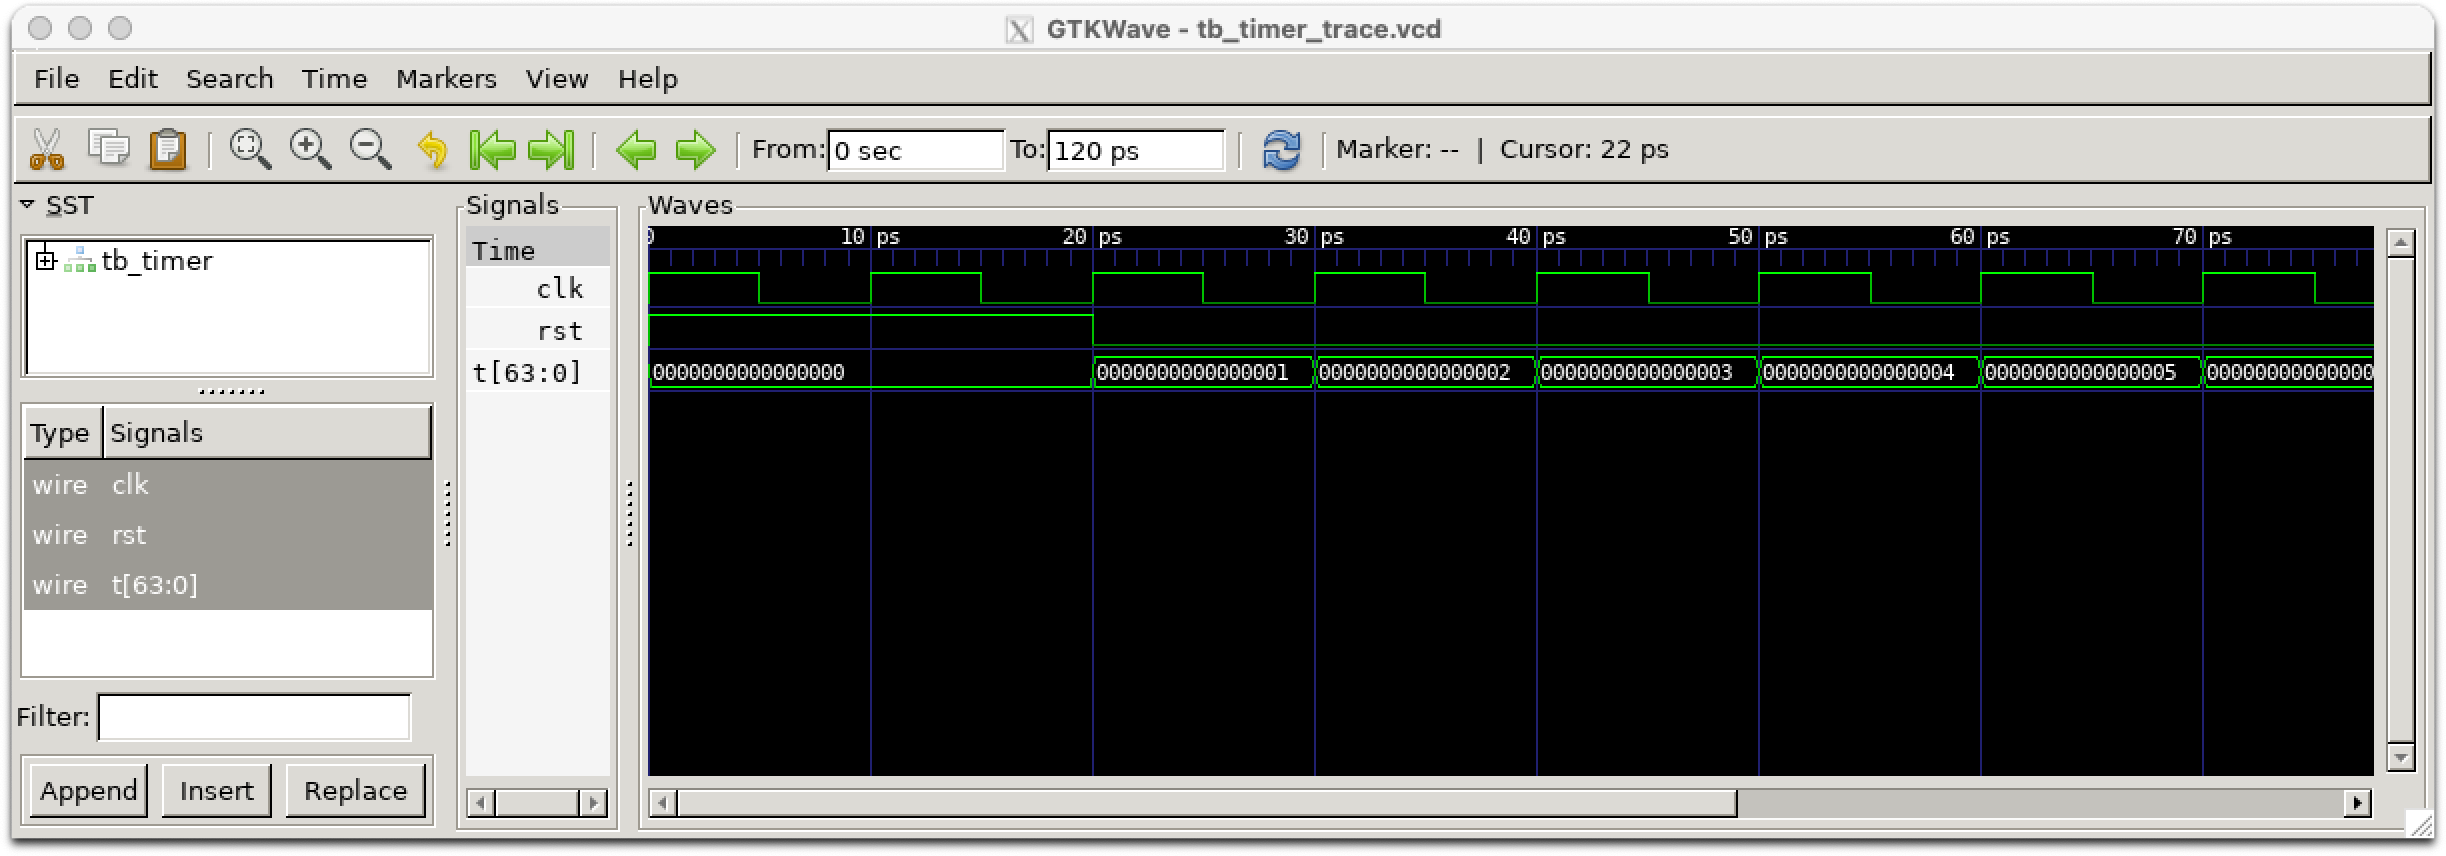
To test out a waveform viewer, use the setuptest/tb_timer_trace.vcd in the ecad-distribution2025 repo (see above).
Then view the trace using:
gtkwave tb_timer_trace.vcd &
or:
surfer tb_timer_trace.vcd &
Both viewers will open a GUI, but you need to select which signals to view before you will see waveforms, i.e. a plot of signals changing over time. For gtkwave, select signals of interest and then hit the append button. For surfer, first select tb_timer in the Scopes section on the left, which will then display variables available in that scope in the Variables section, that you can then select. You may well need to zoom in (magnifying glass button with a +) to see the values of t. Example output from these tools is below.
RISC-V cross-compiler and simulator
The later exercises require a RISC-V cross-compiler and Spike RISC-V instruction-set simulator that are installed on the ECAD server (details above). The version of Spike we are using is a fork of the original with our own additions to provide more debug output. Installing these on your own machine is a bit more involved, but if you want to give it a go, follow these instructions:
- UoC version of the Spike ISA simulator repository
- gcc cross-compiler repository Note that the build process will take quite a long time. By default the cross compiler builds for a 64-bit system, so ensure you follow the instructions to build for rv32gc_zicsr. Specifically, the configuration line should read:
./configure --prefix=<your install path> --with-arch=rv32gc_zicsr --with-abi=ilp32
- People have also reported that the current riscv/assembly/Makefile requires an update at line 27: `-march=rv32gc_zicsr` as opposed to just `-march=rv32gc`.