Robot Control
Difficulty: intermediate
This tutorial guides you through how to drive the servos on the robot, how to have it react to its environment through the use of sensors and as an extension how to control it over Bluetooth with a Wiimote.
REQUIREMENTS:
It is recommended that you look through the Buttons and Switches tutorial before beginning this one.
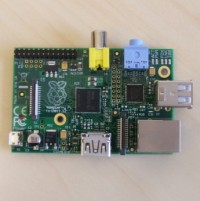 Raspberry Pi
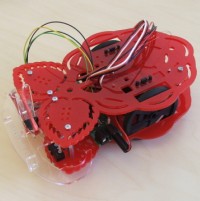 Robot chassis
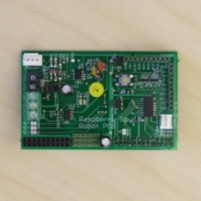 Custom Pi shield
-
 Battery pack
 -
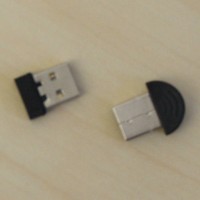 Bluetooth dongle
 -
 Extension: Wiimote
INSTRUCTIONS:
It is recommended to use one of our SD cards or images. If you are not then you will need: the RPi.GPIO library, our i2c library, a kernel allowing i2c and having loaded these drivers, preferably i2c drivers in userspace, python-smbus, python-bluez, to set your Bluetooth into discoverable mode (sudo hciconfig hci0 piscan), python-cwiid if doing extension. See the downloads page for further information.
Inspect your robot, make sure everything is connected and decide on what sensors you have available to you.
First thing is to get the robot driving. Type
python
to get a console running, this does not need to be root for i2c control, however if you want to interface with other GPIO you will need to run as root (sudo python) instead.
In your Python console:
#import our i2c libraries to be able to speak to the chip
import i2c
#start a connection to the chip, default frequency is 50Hz which is good for driving servos
servos = i2c.I2C()
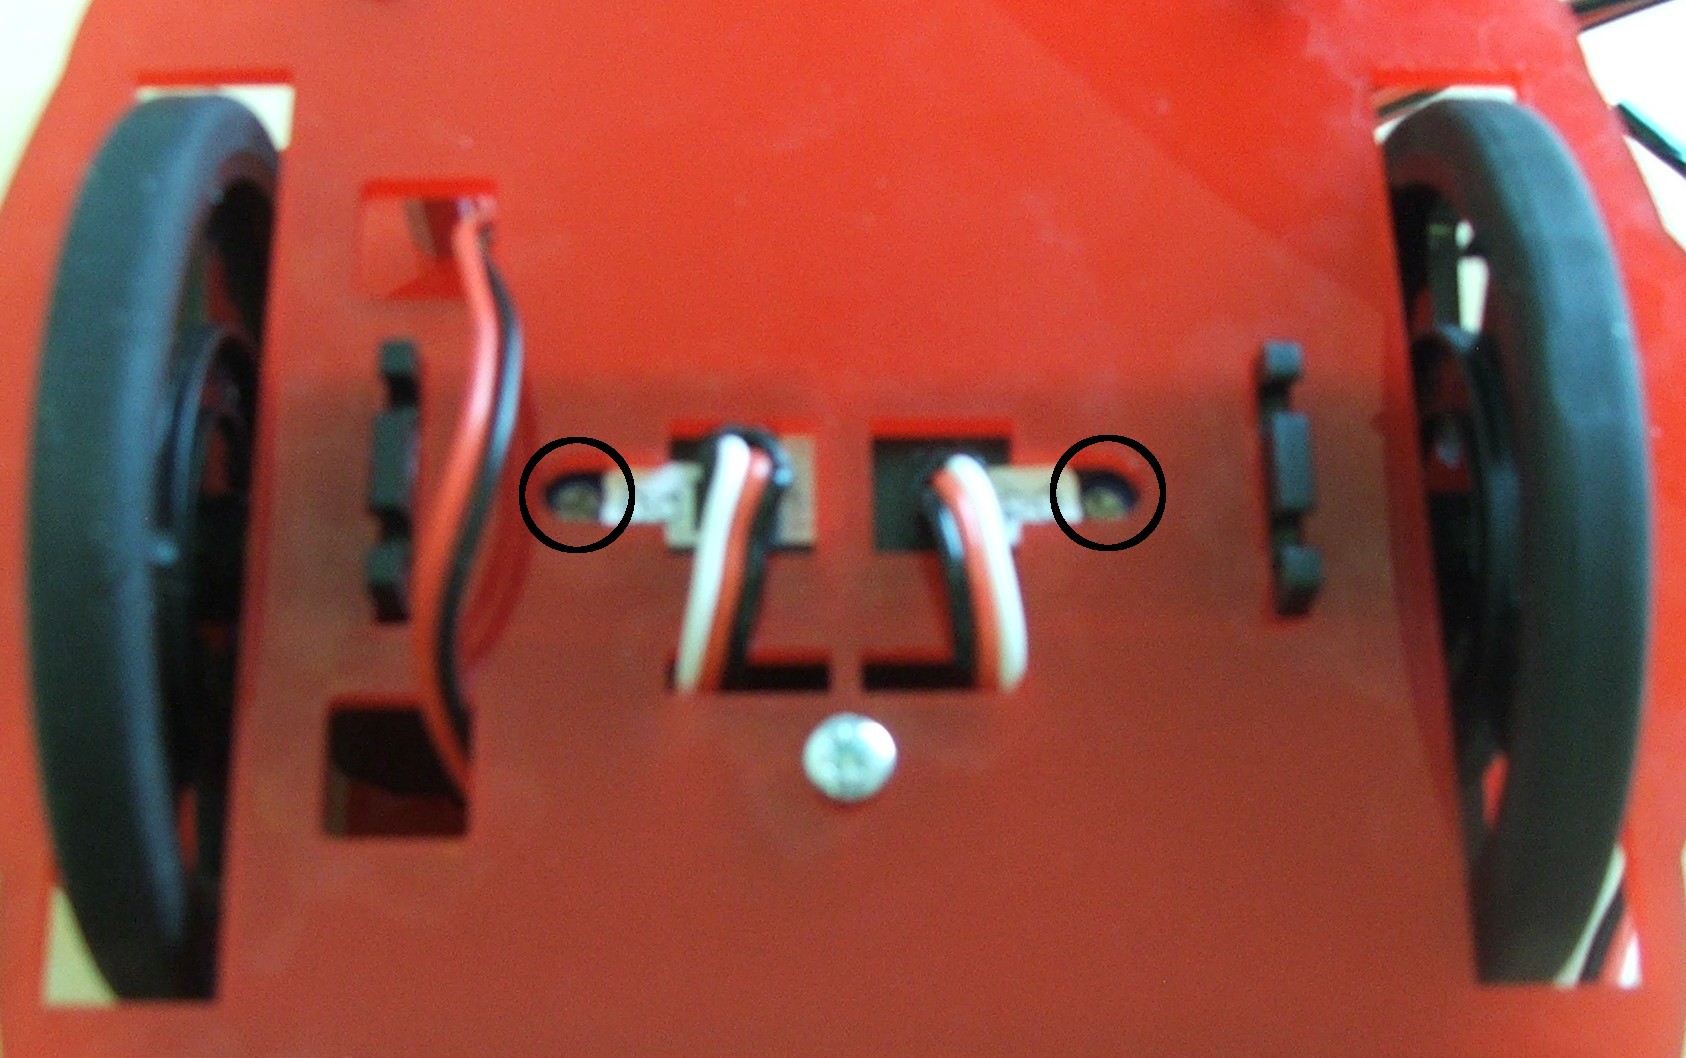
Now that you have a connection to the i2c chip you may have to calibrate your servos.
This is done by sending pulses which should correspond to stationary and then adjusting a screw on each servo until they stop. Make sure your robot doesn’t drive off the desk!
So type:
servos.setSpeeds(0,0)
to set pulses going to the servos and adjust these screws until the servos stop.
Now everything’s calibrated, let’s test out our control!
The setSpeeds function takes two arguments, the speed for the left motor and the speed for the right. Each of these varies between -100 and 100, respectively full reverse and full forwards, with 0 being stationary.
To have your robot ramp through its different speeds and then stop:
import time
for i in range(-100,100):
  servos.setSpeeds(i,i)
  time.sleep(0.2)
servos.setSpeeds(0,0)
Great! Now you know how to make your robot move. Feel free to play around for a bit and get comfortable with these controls, practice making it turn on the spot or try to drive in a square.
So far you’ve had to have it tethered, what if you want it to roam free?
First let’s have it move autonomously. If you’ve already done the Image Processing tutorial you can put some of that knowledge and code to use, your image detection/tracking can now become following. From the centre coordinates you can tell which side of the robot the image is, if you then use speeds for each motor proportional to distance from centre of the image you should be chasing it quickly.
If you haven’t done this and don’t want to there are several other control methods available.
If your robot is equipped with bump switches then you can continuously check if either switch is hit and try to respond appropriately.
#after having set-up inputs appropriately as in Buttons and switches tutorial (or refer to cheat sheet)
#set the robot driving
leftBumpPin = 21
rightBumpPin = 18
servos.setSpeeds(100,100)
while True:
  if (GPIO.input(leftBumpPin)):
    #here you may choose to turn right, spin on the spot, reverse and turn right, etc.
  if (GPIO.input(rightBumpPin)):
    #appropriate actions if right bumper hit
Now let’s try and control it remotely over Bluetooth.
We could dynamically search for Bluetooth devices to try to decide which to connect to with bluetooth.discover_devices() and bluetooth.lookup_name(bdaddress) but because you probably don’t want to accidentally connect to someone else’s robot it might be better to code in the address to connect to (or if you don’t want someone to steal your robot a white-list of addresses allowed to connect, or even a password for control).
Find out your robot’s Bluetooth address by, in a terminal, running
hciconfig | grep "BD Address"
This should return something in the form of
BD Address: 00:15:83:XX:XX:XX ACL MTU: 339:8 SCO MTU: 128:2
Make a note of this BD Address.
We will need 2 programs, a server running on the Pi and a client running on what you want to connect with.
Let’s start with the server. In a file called bluetooth-server.py:
import bluetooth
import i2c

#create a socket on bluetooth
#RFCOMM is one of several protocols bluetooth can use
server_sock=bluetooth.BluetoothSocket(bluetooth.RFCOMM)

#choose a port number, must be same on client and server, 1 is fine
port = 1
#bind our socket to this port, the "" indicates we are happy to connect
#on any available bluetooth adapter
server_sock.bind(("",port))
#listen for any incoming connections
server_sock.listen(1)

#accept connections and create the client socket
client_sock,address = server_sock.accept()
print("Accepted connection from ", address)

#Now is a good time to initialise our servos
#maybe light an LED to indicate success as well
servos = i2c.I2C()

while True:
  #now everything is set-up we're ready to receive data
  data=client_sock.recv(1024)
  #print what we've received for debugging
  print( "received [%s]" % data)

  #now we've got data it's up to you want you want to do with it!
  #We recommend sending tuples and decoding them as speeds to send
  #ensure client and server are consistent

#when finished be sure to close your sockets
client_sock.close()
server_sock.close()
Now for the client. In bluetooth-client.py:
import bluetooth

#insert here the address of the Pi that you noted earlier
bd_addr = "00:15:83:XX:XX:XX"
#port must be consistent with server
port = 1

#create a socket and connect to the server
sock = bluetooth.BluetoothSocket(bluetooth.RFCOMM)
sock.connect((bd_addr,port))

#we're now ready to send data!

#This will repeatedly send what a user types, you will probably want to
#decide a format and check for it here so it can be easily decoded the
#other side

while True:
  input = raw_input("What would you like to send? ")
  if (input == "quit"):
    break
  else:
    sock.send(input)
#close up when finished
sock.close()
If you run each of these (server on the Pi, client on your machine), you should be able to send message over Bluetooth, great! Try to set it so you can send tuples of speeds, or maybe forward 5 to drive for 5 seconds and left or right to turn.
You can even try to get Pis talking to each other and sharing their sensor data or trying to work together. It’s up to you!
Examples of Bluetooth programs: bluetooth-client.py, bluetooth-server.py
EXTENSION: Wiimote Control
With a bit of coding and some help from our Wiimote tutorial, you should now be able to drive the robot with a Wiimote using either buttons, accelerometer or a mix. If you want to run your program at boot you should modify /etc/rc.local (as root) and add python /home/pi/wiimote.py. This is recommended as there can be USB issues when unplugging Ethernet which may break the Bluetooth connection.
An example of Mario Kart style controls: wiimote.py
