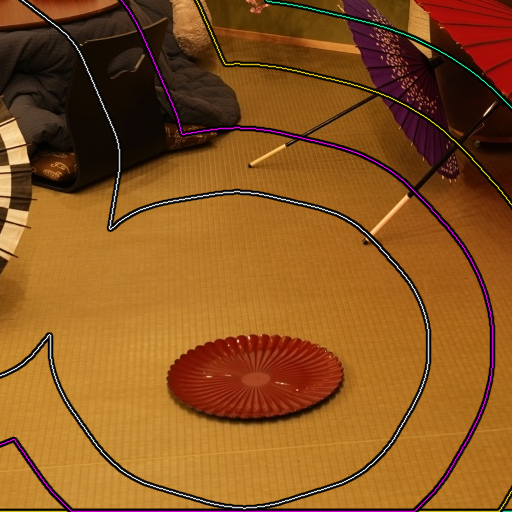
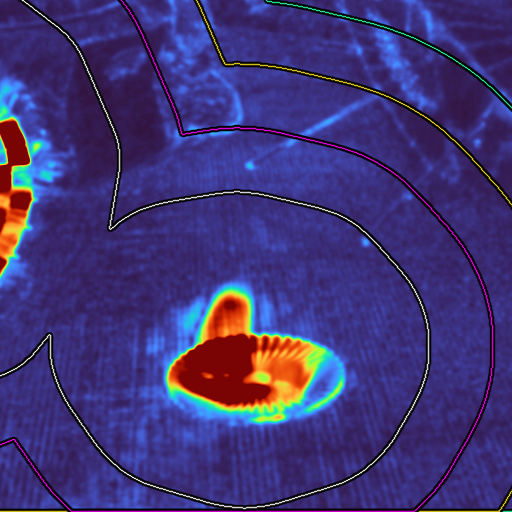
Frame 0001 · Local Qwen boundary choices
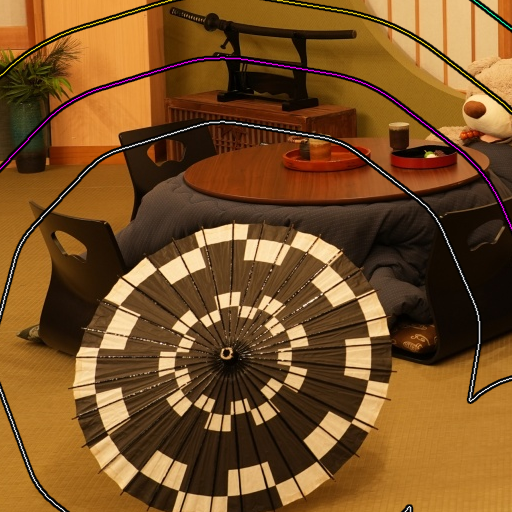
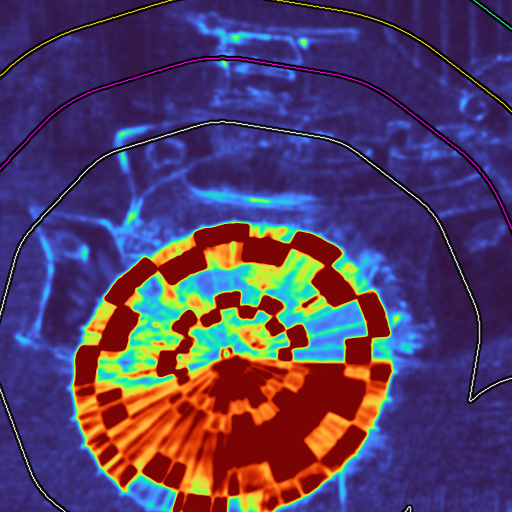
4/4 choices exactly match the current reference.
Block 01 · MATCH
Reference: C1
(+64 px)
Local Qwen: C1
(+64 px)
· confidence 0.90
Qwen reason: The white boundary with black halo (C1) is the only one that tightly follows the parasol's visible edges, including its thin tips and soft boundary, without including significant background or leaking residual outside the object.
Reference reason
The white boundary encloses the complete foreground parasol edge and all coherent residual with a clear safety margin.
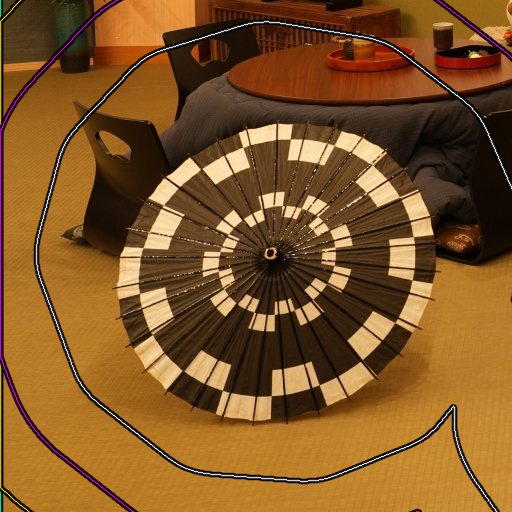
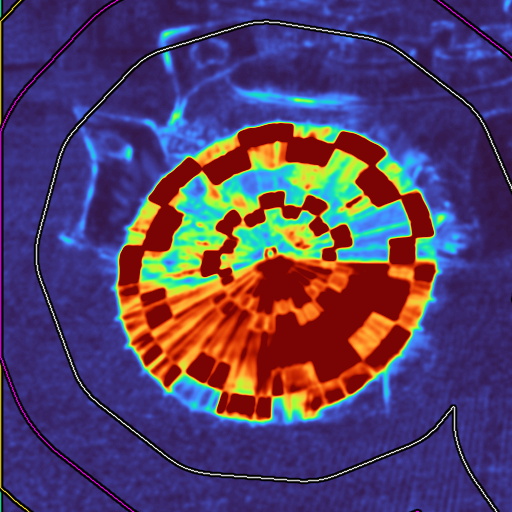
Block 02 · MATCH
Reference: C1
(+64 px)
Local Qwen: C1
(+64 px)
· confidence 0.90
Qwen reason: C1's white boundary with black halo tightly encloses the entire parasol including its blurred tips and soft edges without leaking outside the object's visible extent.
Reference reason
The white boundary contains the upper parasol silhouette, tips, and the full visible residual halo.
Block 03 · MATCH
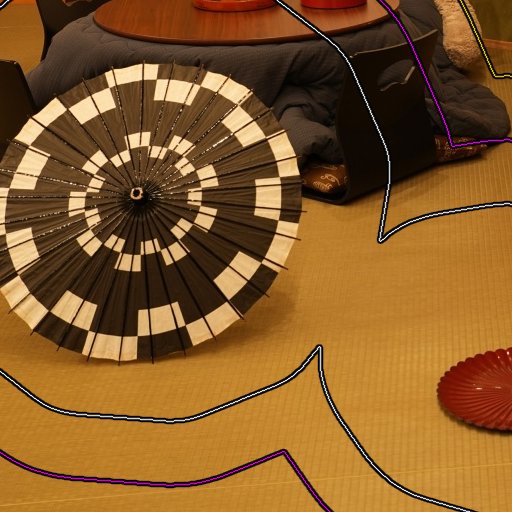
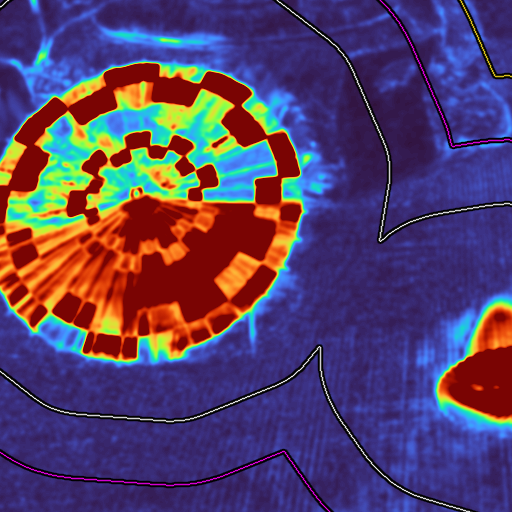
Reference: C1
(+64 px)
Local Qwen: C1
(+64 px)
· confidence 0.90
Qwen reason: C1's white boundary with black halo most accurately follows the parasol's visible edges and thin tips in the RGB image, while C2-C4 extend beyond the object's actual extent.
Reference reason
The white boundary safely surrounds the parasol lower-right fringe and its residual trail.
Block 04 · MATCH
Reference: C1
(+64 px)
Local Qwen: C1
(+64 px)
· confidence 0.90
Qwen reason: C1's white boundary tightly encloses the entire red tray including its rim and shadow blur without leaking outside, while residual heatmap shows no coherent signal beyond the mask.
Reference reason
The white boundary contains the entire floor tray, including its lower-right rim, shadow-like blur, and coherent residual.